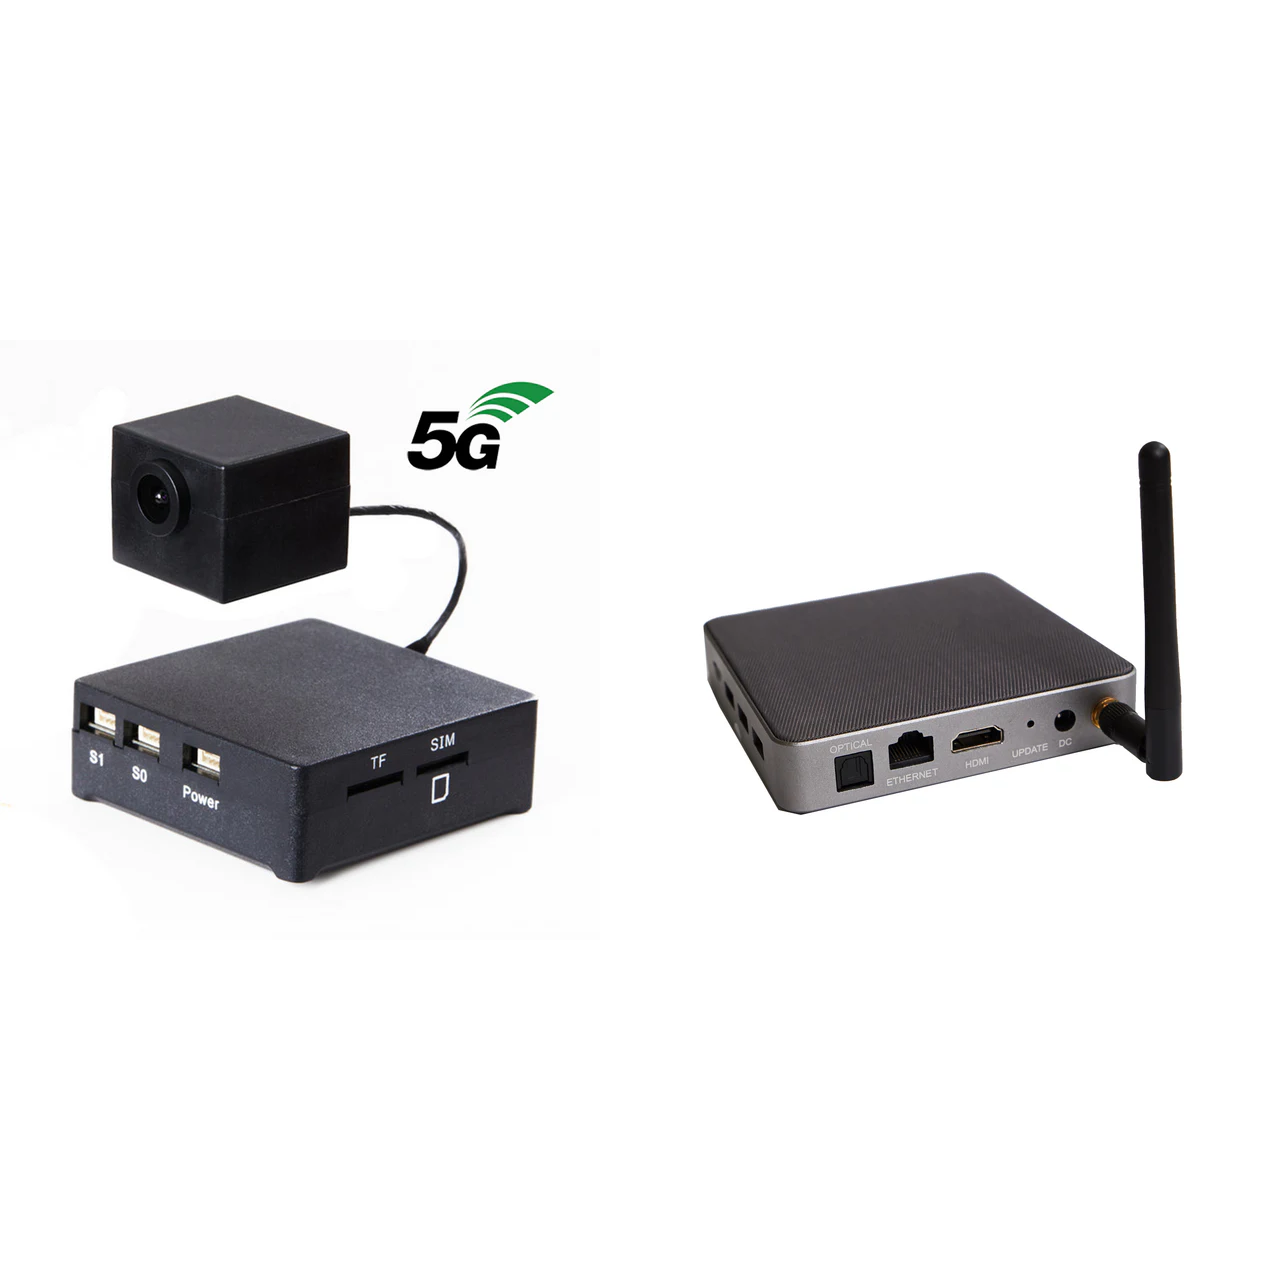
How to configure the APN of cloudrc AdvenX3
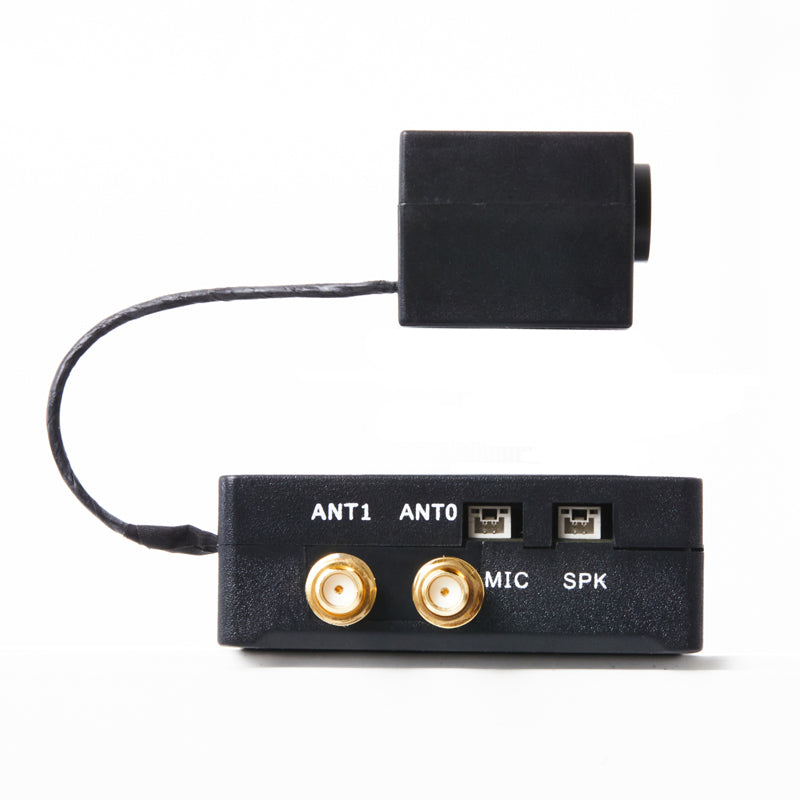
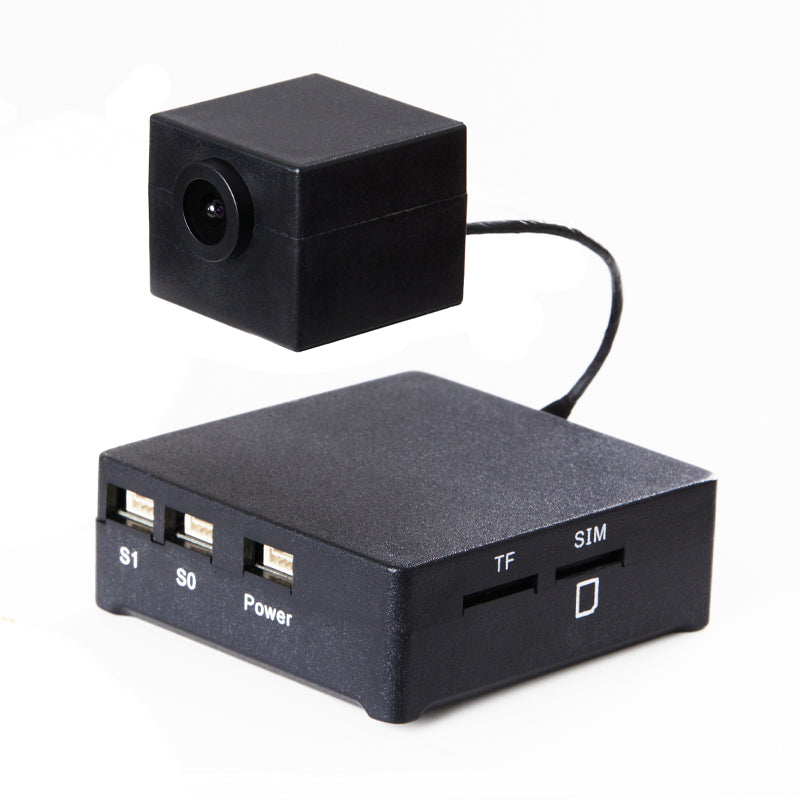
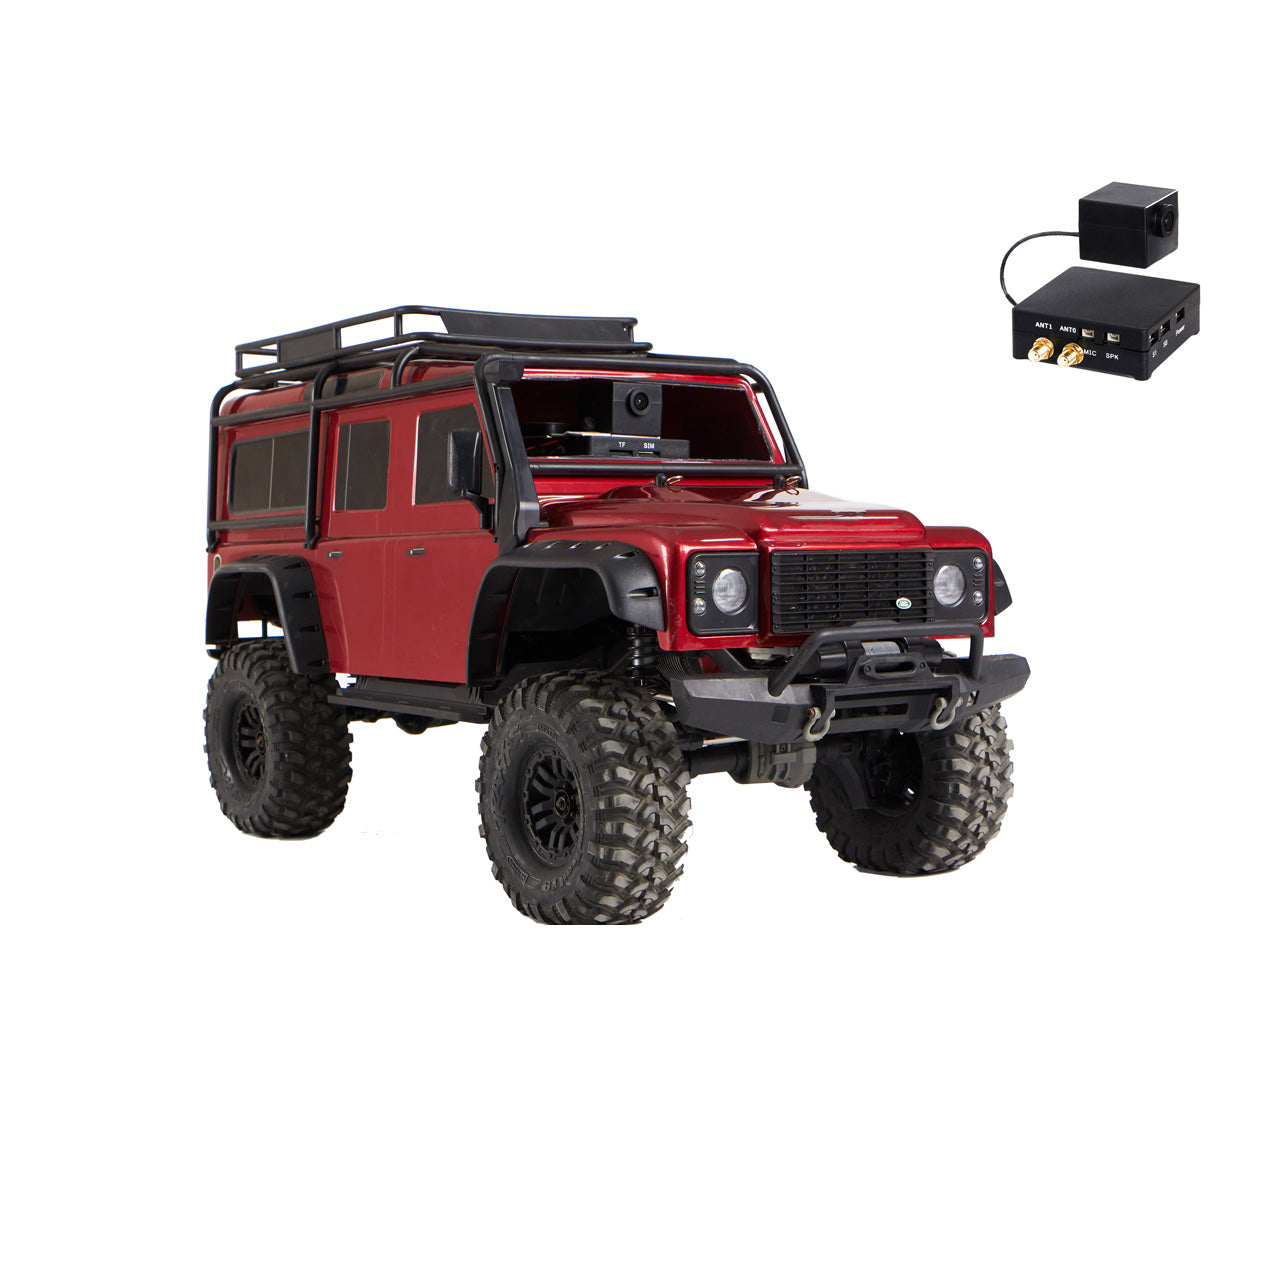
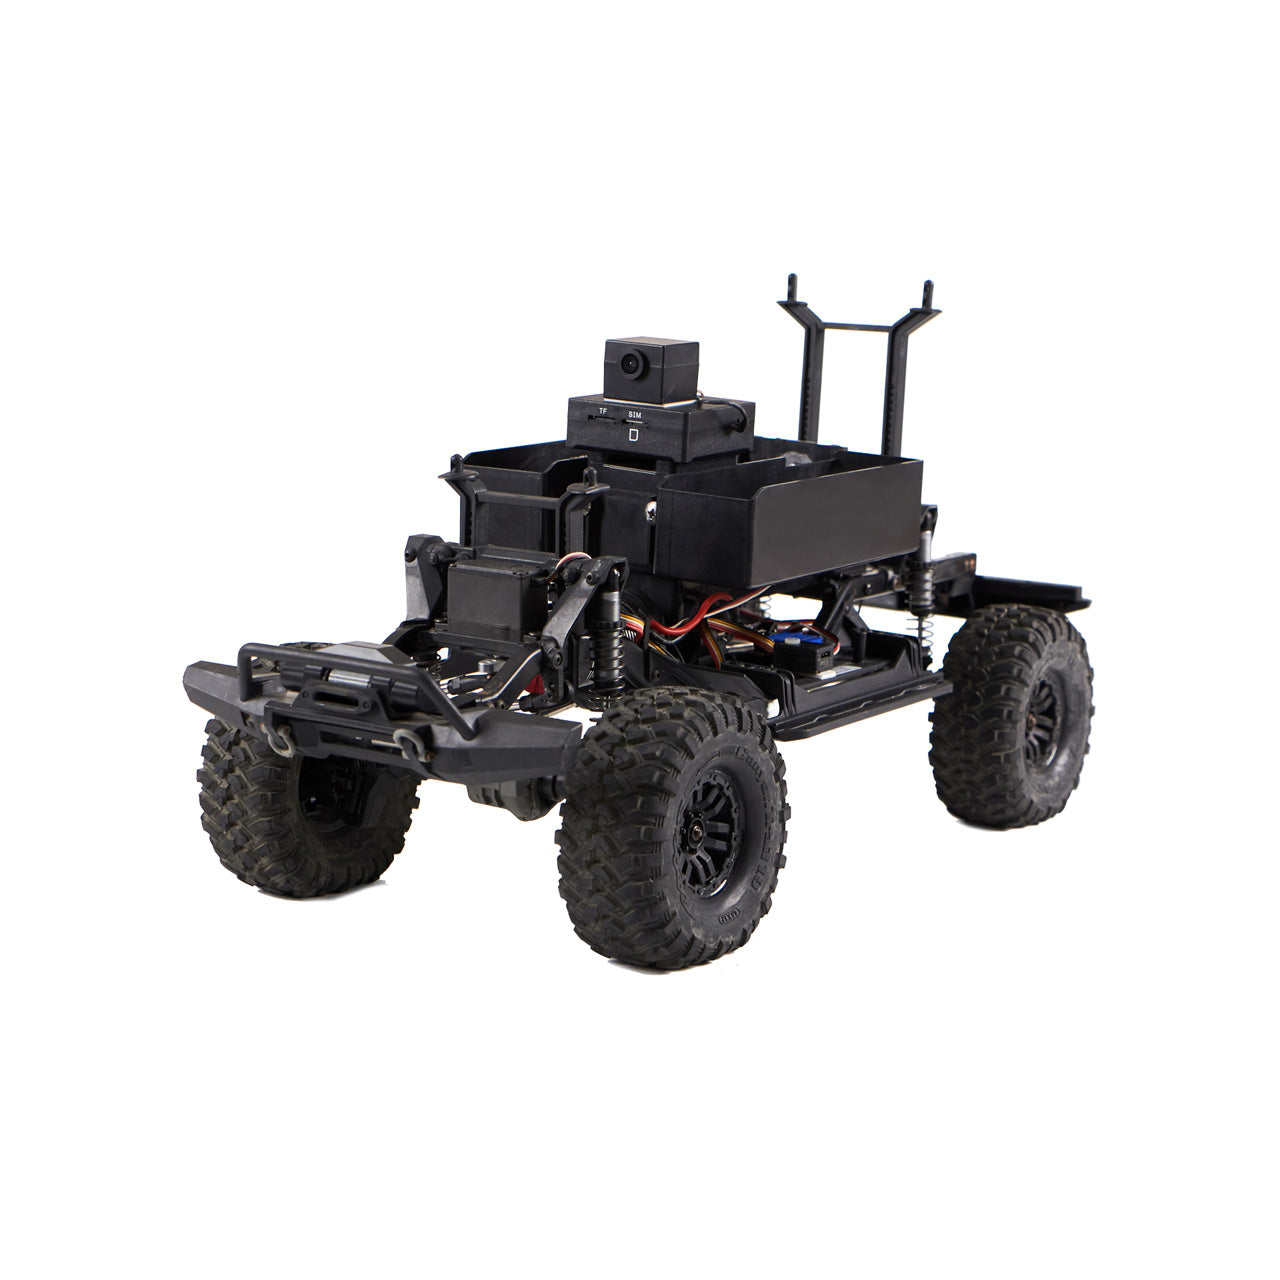
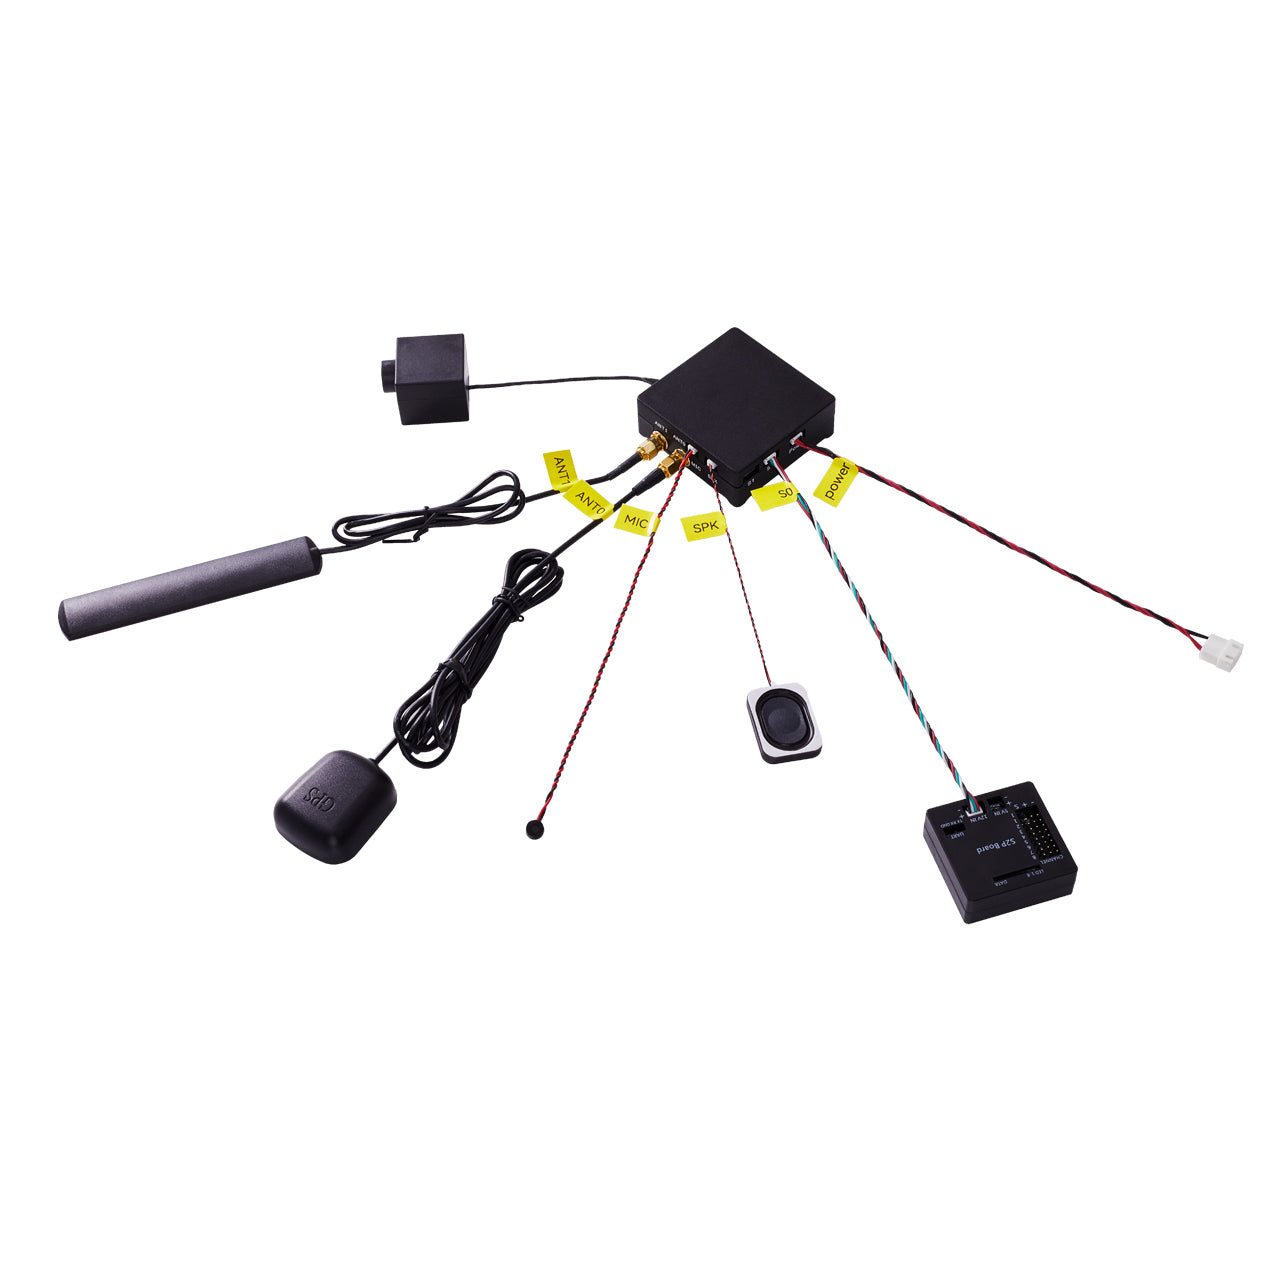
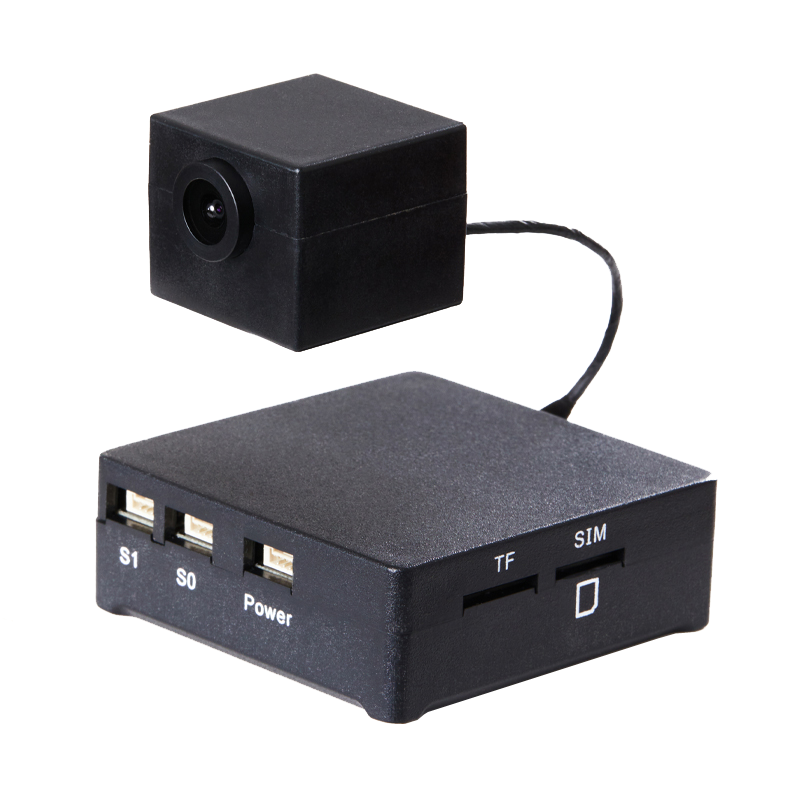
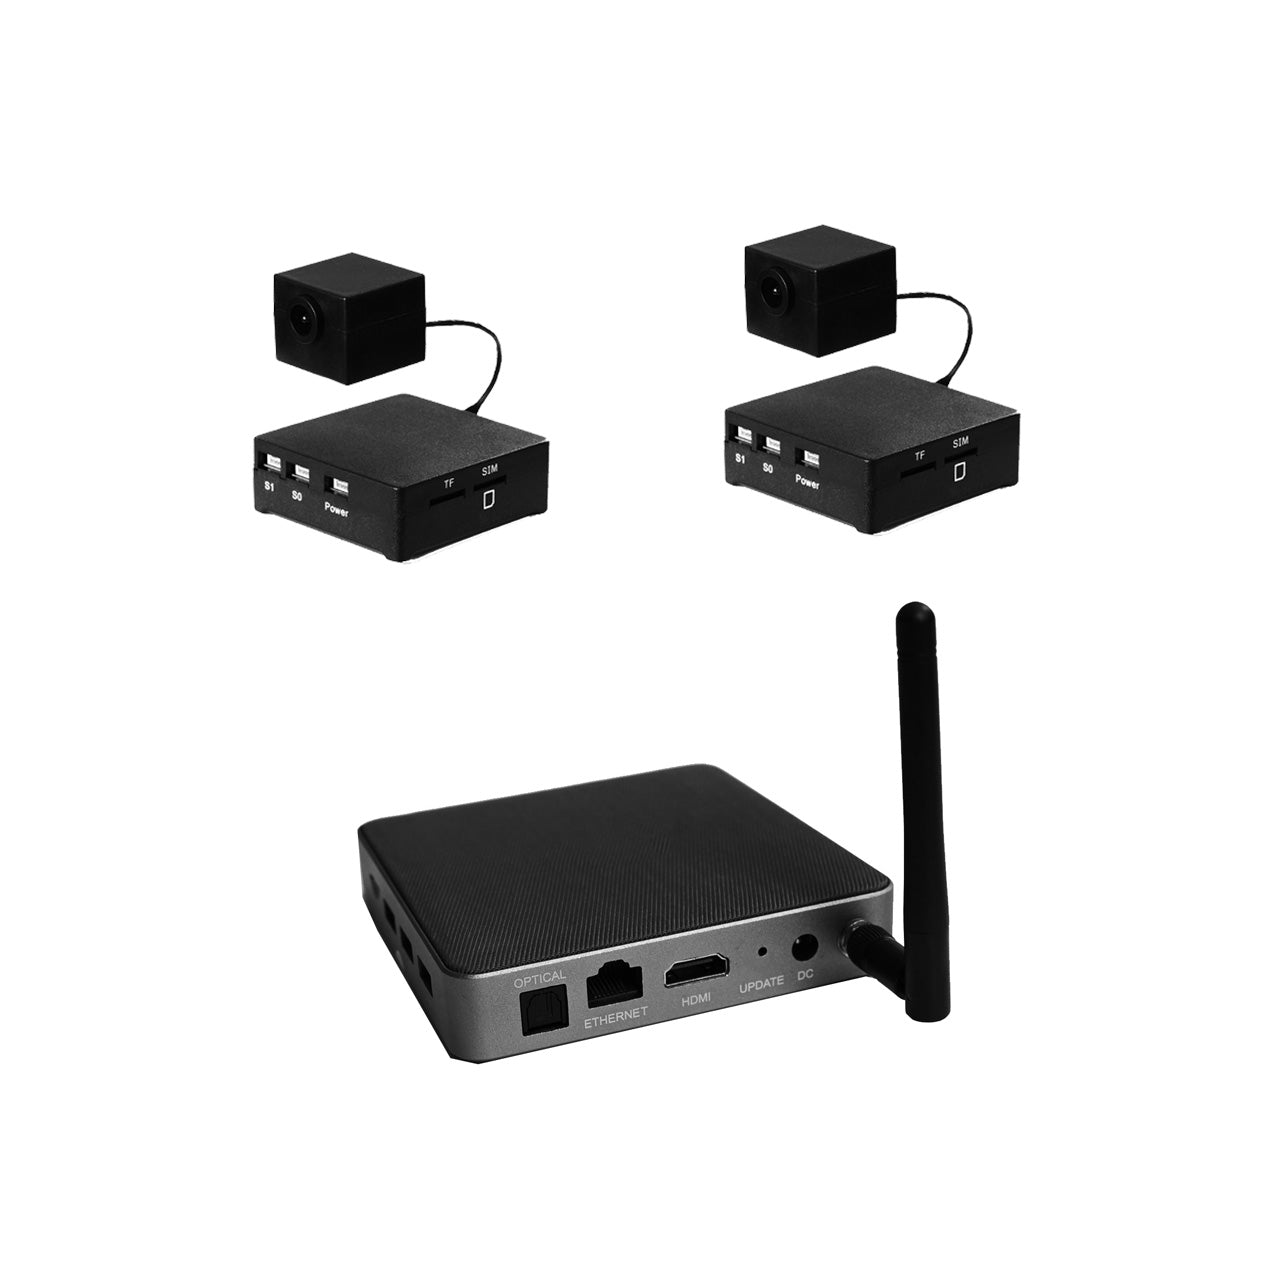
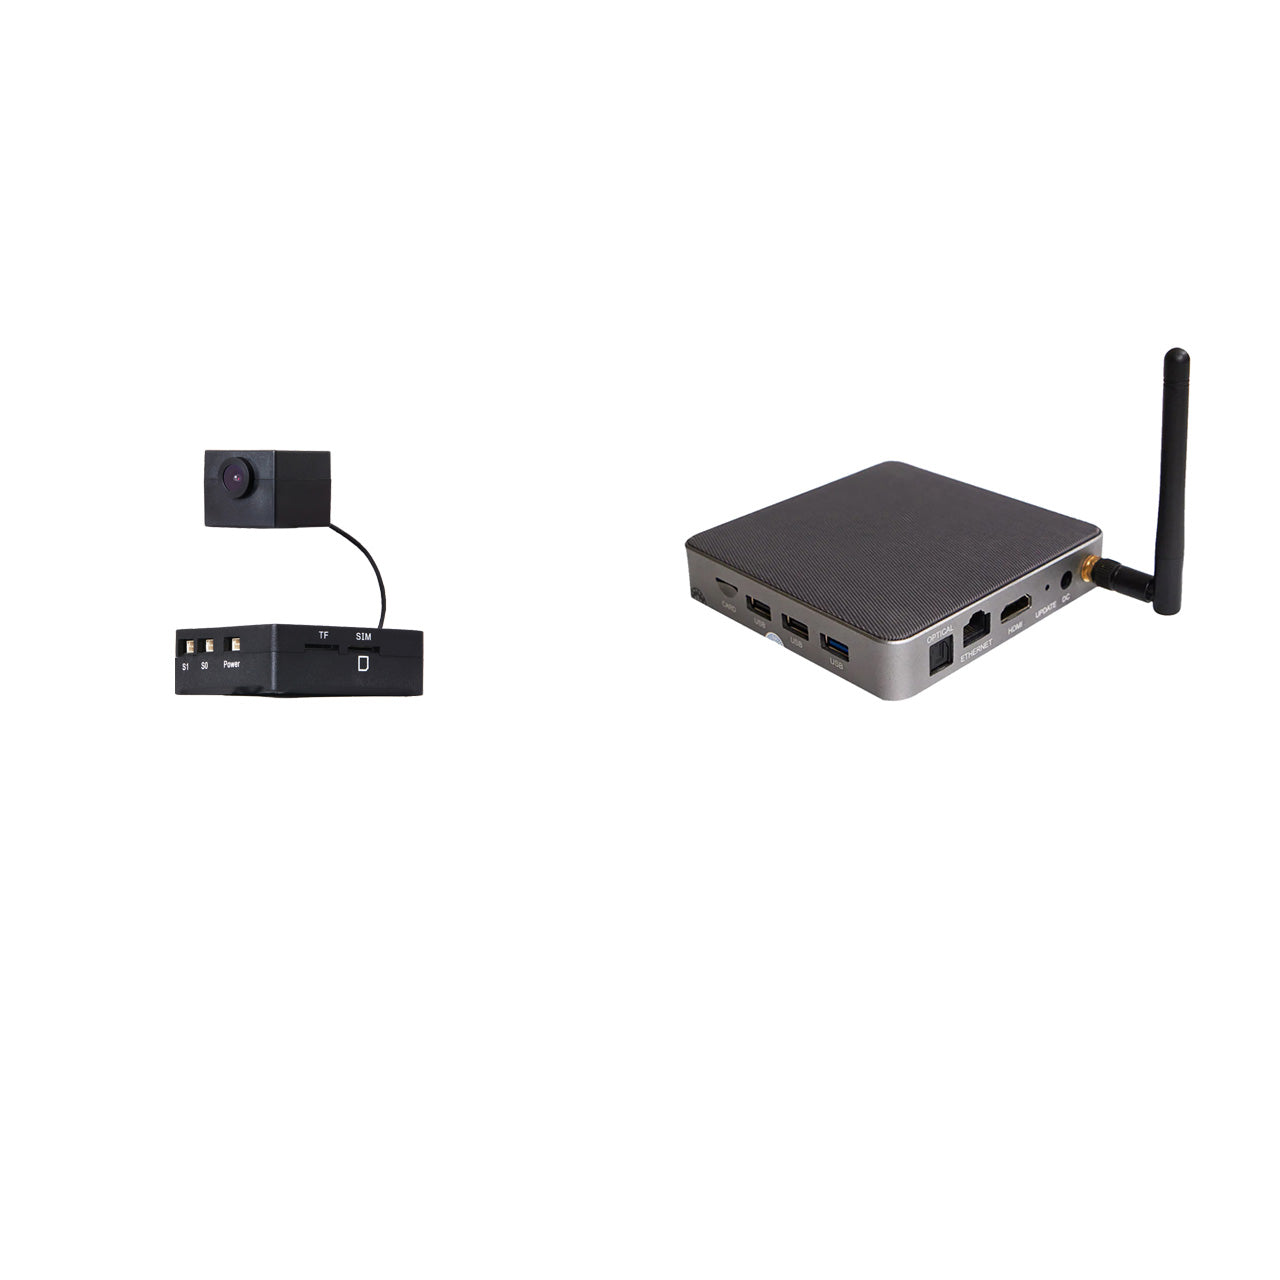
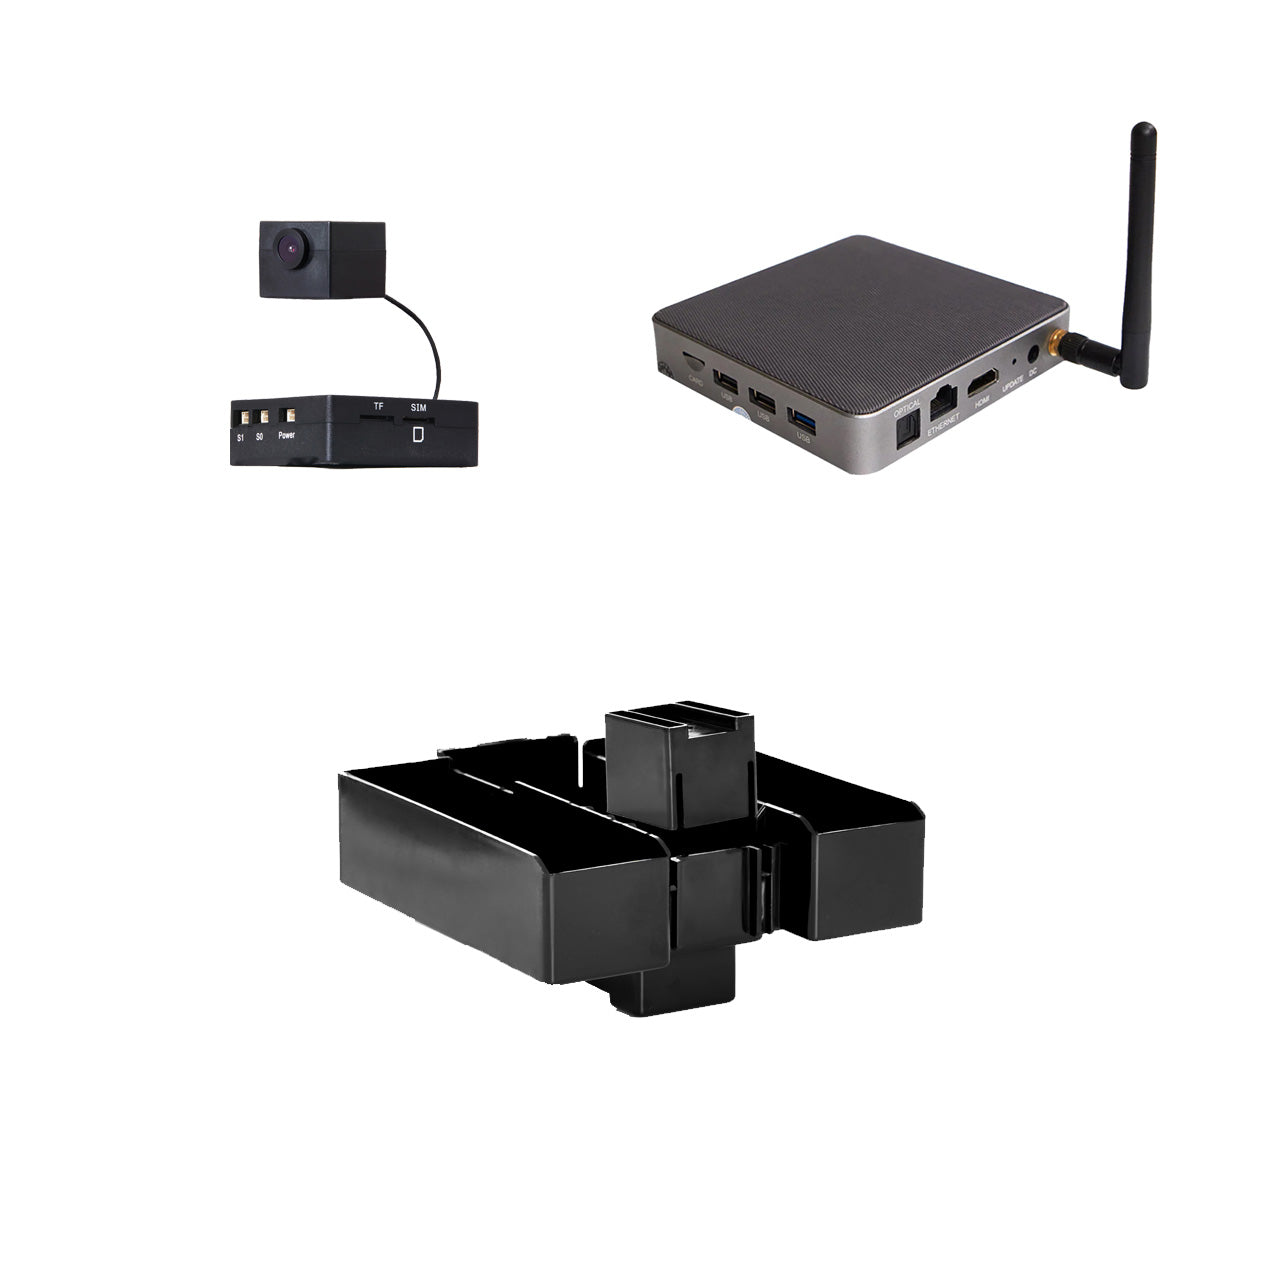
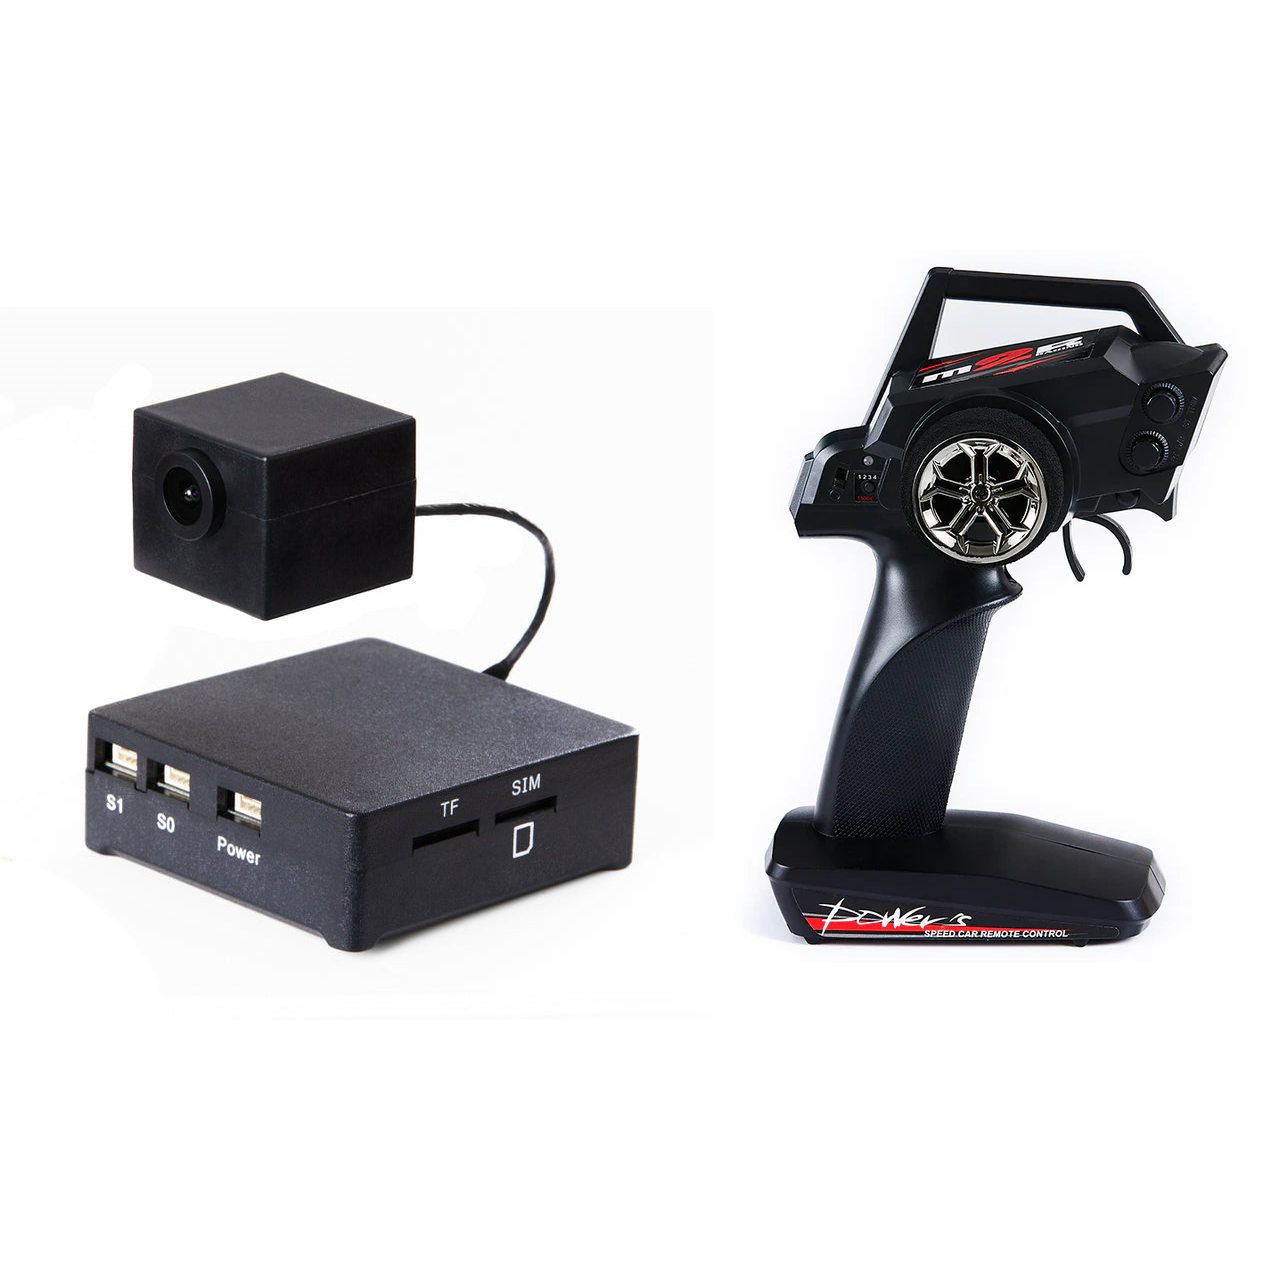
CloudRC AdvenX3 uses 4G or 5G network communication to access the Internet, so it can achieve unlimited FPV driving function.
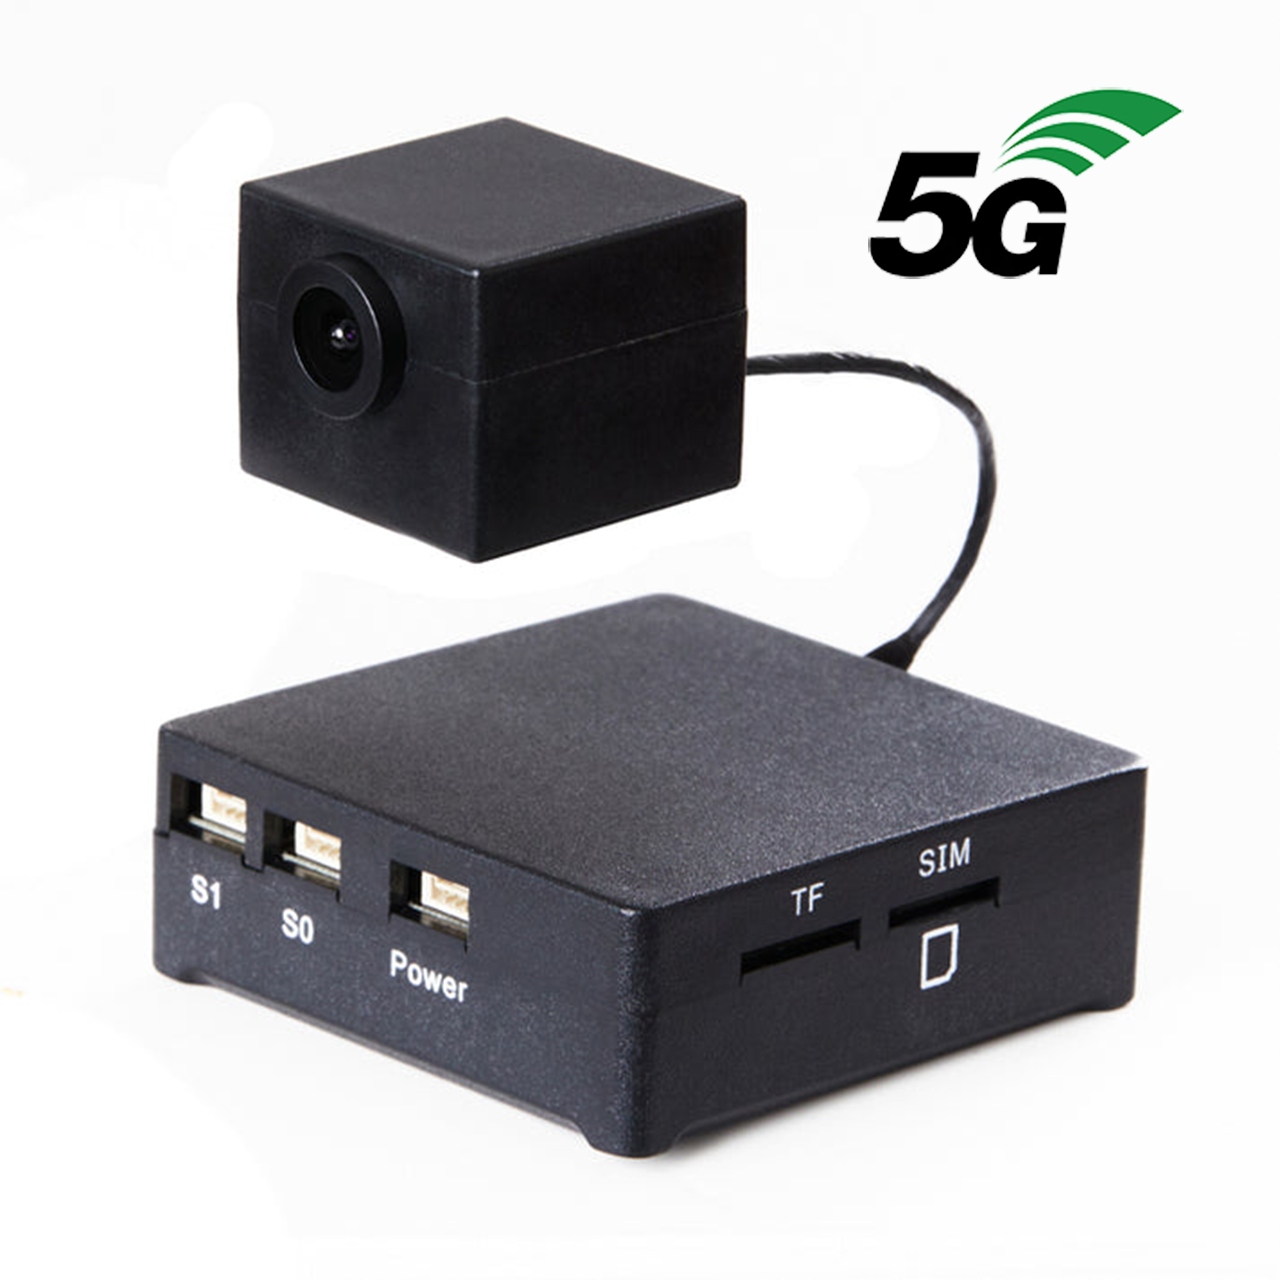
In most cases, configuring an APN is not a required step. Because the AdvenX3 is built with the APN default configuration of common operators around the world, you only need to insert the SIM card correctly, ensure a good 4G signal and enough data plan to make the AdvenX3 successfully connected to the network.
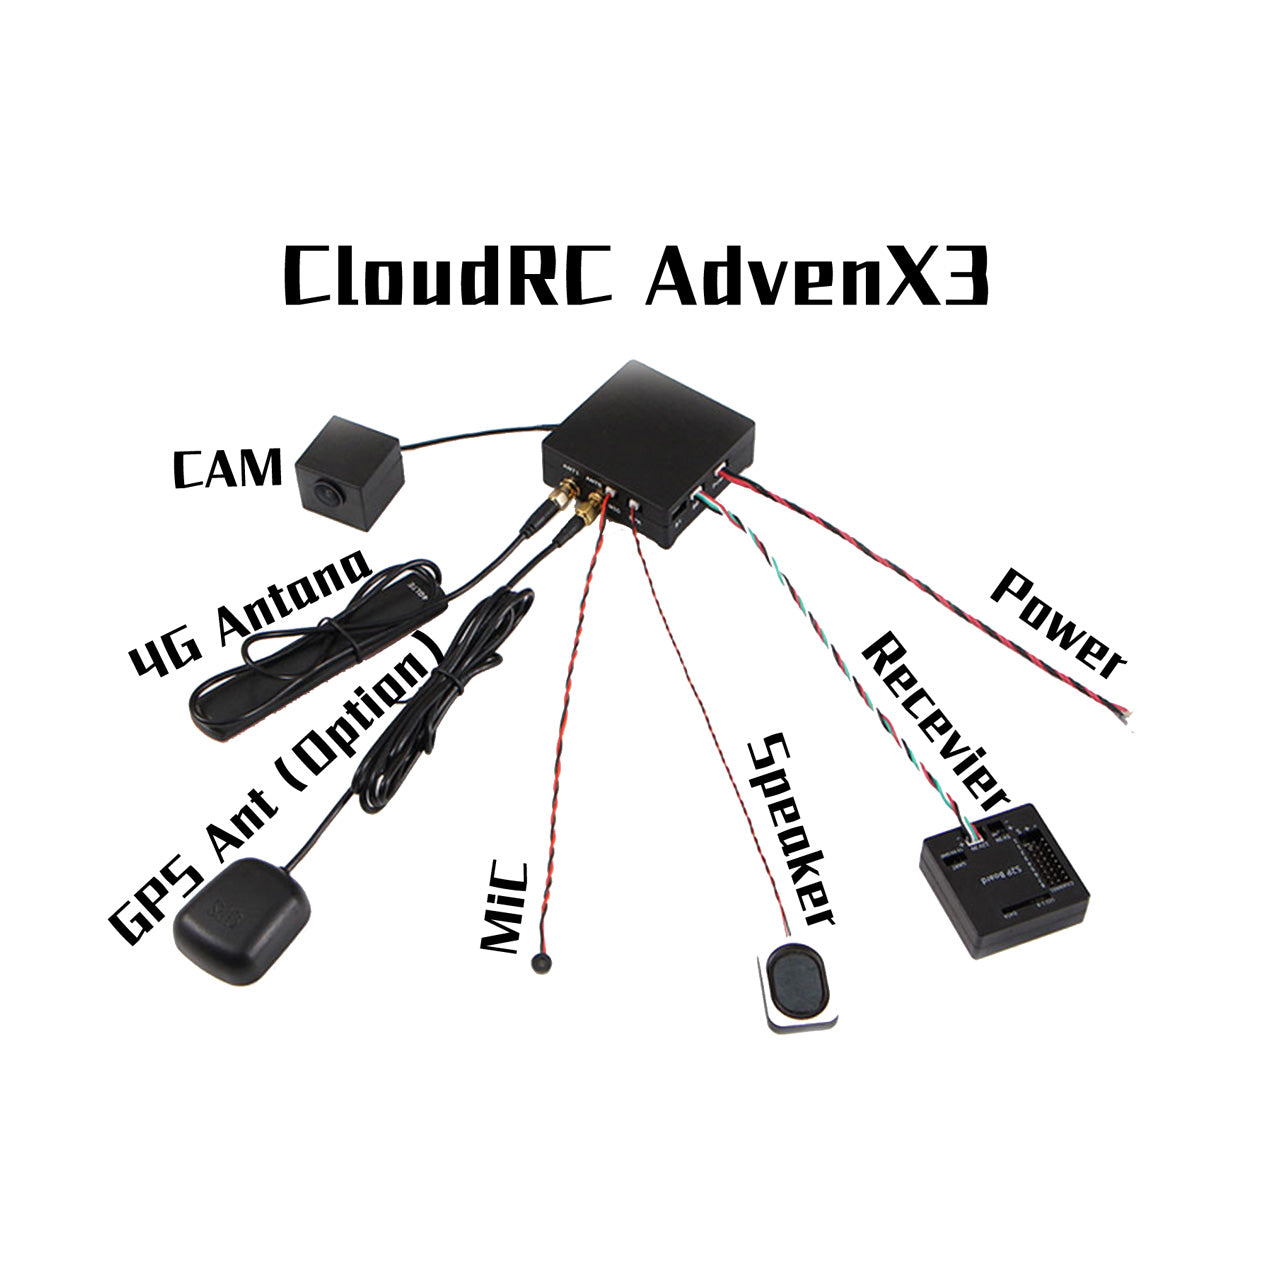
If your SIM works fine in your phone, but after plugging in AdvenX, AdvenX3 says there is no network, and you check that all antennas are properly connected, then you may have an APN configuration problem.
You need to configure the correct APN for AdvenX3 in order to help AdvenX3 connect to the network.
Follow the following steps to configure.
1. Correct APN
You will need to talk to your SIM card provider to get the correct APN parameters. It's usually composed of letters and dots.
For example, m2m-router.lguplus.co.kr
2. Computer
Make sure your computer has a USB port and a text editor
3, SD card/card reader
The SD card must be micor SD. The recommended capacity is 32GB or less
a/ Format TF words not fat32 file system
4. Create an apn configuration file
mobile_set
Take the APN parameters obtained earlier, use the txt editor of the computer, edit the mobile_set file, and save it to the SD card
(Click the link above to download Note that mobile_set has no postset)


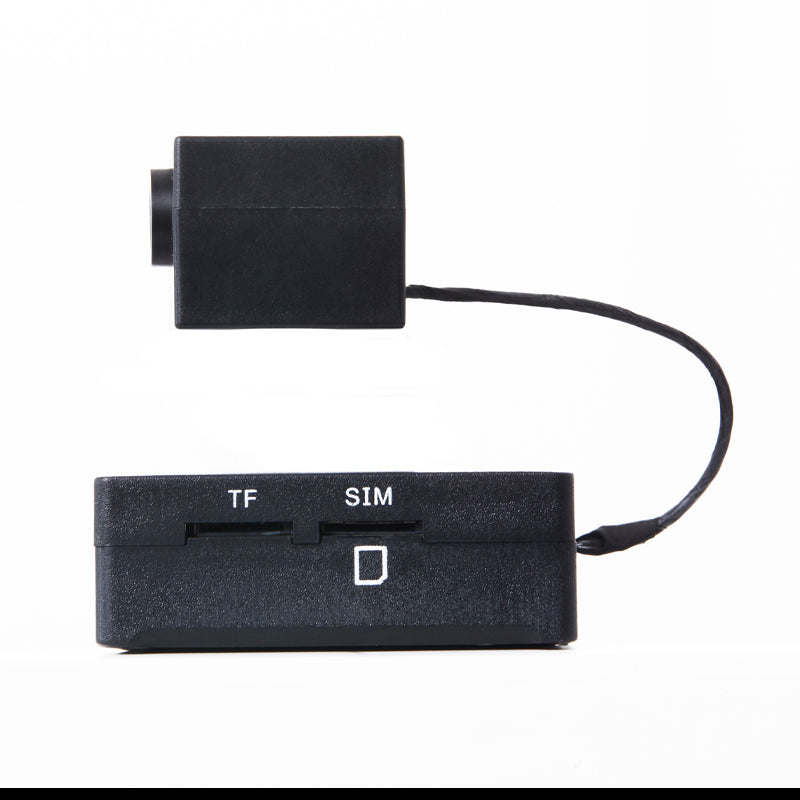
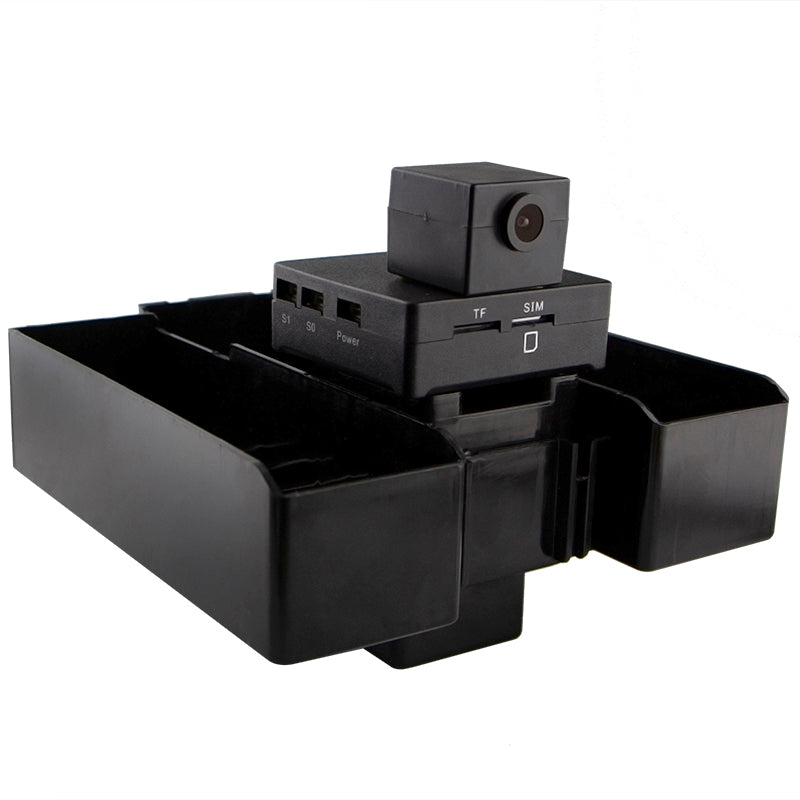
5. Insert SD card into AdvenX3
Plug in the AdvenX3 and power on to start the configuration.
If you encounter problems, please check:
Are the APN parameters obtained correctly?
Is the configuration file written correctly?

cloudrc
CloudRC Adven X3 All In One RcCar FPV Remote Controller
Share
